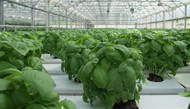
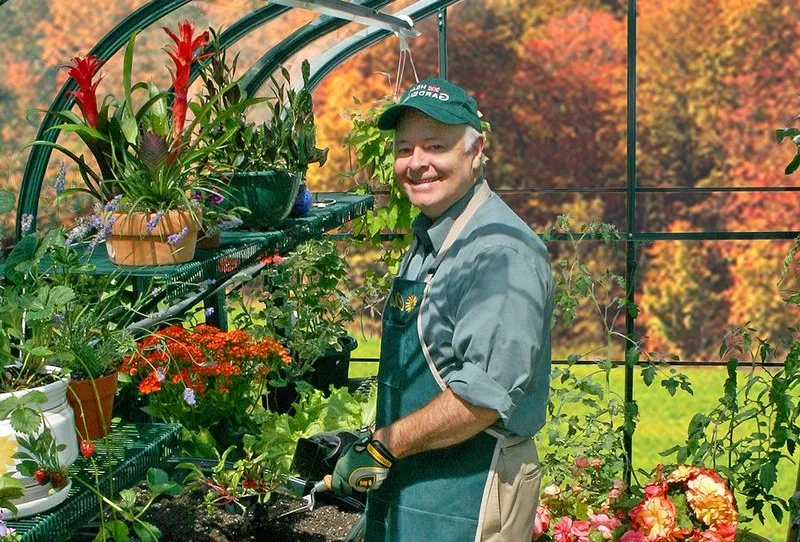
Growing in Your Greenhouse; Herbs
Spring is in the air and it’s getting close to the time of year where trips to our home gardens start to supplant some trips to the grocery store. Fresh fruit and veggies all taste better when you grow them yourself, that’s just a scientific fact. If you’ve been keeping up with the blog, you should know by now how to grow many different fruits and veggies in your greenhouse, but what if you want to spice things up a little? Don’t get me wrong, I’ll munch on some raw broccoli and carrots, but roasting them with the right seasonings elevates them to a whole new level. Spices and herbs are great ways to enhance the flavor of any dish really, but sometimes the stuff you get in the jars at the store are incredibly dry and have lost much of its natural flavor. How can I get around this, you ask? Worry not! This week’s blog is all about growing herbs in your greenhouse! I’ll even throw in some information on how to dry and store your herbs once you’ve harvested them. So, sit back, relax and read all about growing herbs in your greenhouse.
For starters, you will want to make sure there’s a shady spot in your greenhouse! While some herbs can grow to be quite robust, many of them start their lives rather delicate. Too much intense, direct sunlight in the initial stages can effectively kill your seedlings. For optimal results, clear out a corner or segment of your greenhouse and ensure there is proper shading in. Ensure that this part of your greenhouse will receive sunlight, but in limited quantities. Placing newsprint over your seedlings can also help shade them from the suns light and heat. Take these precautions early to save yourself a lot of heartache and pain later if and when all your plans died. Further precautions to take are general greenhouse upkeep. Keeping your greenhouse vented, extra moisture can lead to mold and fungal growth. Venting should be done on a schedule, doing so at the same time each day will allow your plants and greenhouse to be on a bit of a routine. Make sure you avoid splashing when watering your plants because wet foliage is a sure way to create problems for yourself. Make sure you have some oscillating fans to keep the air circulating throughout the greenhouse, stagnant air is not great for your plants, or you when you go to deal with your garden. After you’ve taken all your precautions, feel free to add any that I’ve omitted, you’re all set to start growing!
Seedling starters are a great idea for starting up herbs. The individualized compartments of the seedling starters will allow the seedlings to build up some roots without competition from the other plants. If you don’t have a lot of sunlight yet in your area, artificial lighting is a good alternative. You may need to check with an electrician to ensure your greenhouse is equipped to handle the voltage requirements needed to power the lights you’ve chosen. Giving the seeds and seedlings anywhere from 6-8 hours of light per day in the initial stages will help them grow nice and big. Water your seedlings as necessary, try not to overwater them. Pay attention to both the soil moisture as well as the droopiness of the leaves. Drooping leaves are a very telling sign that your plants need water. Fertilize your plants every two weeks when they are first starting out, once they have gotten larger and you can start pulling from them, up the fertilizer to once every week. Fertilizing mature plants will help them grow and have bountiful cuttings for you to take all season long.
You may already know what kind of herbs you love and what you want to grow, but for some, growing herbs is a new venture. Herbs are great plants to have in your garden for a whole lot of reasons. Not only can they be used to help spice up your food and make your dishes taste and smell better, but they can also provide some less known about health benefits. Including but not limited to
- Providing vital nutrient support and supplementation benefits
- Flavor enhancement of your home-cooked meals
- Hair, skin, and dental benefits
- Anti-inflammatory properties
- Improved cholesterol profiles
- Improved circulation
- Immune-system support
- Anticancer properties
- Antimicrobial properties
- Enhanced mood and well-being
Hopefully this list was enough to convince you that you should be growing some herbs in your greenhouse. If not, well, do it anyway! It’s good for you and they’re very easy to grow! Unlike a lot of other edible plants, herbs are relatively easy to grow! As mentioned before, they can be a bit delicate at the start, but once they’ve grown up, they basically take care of themselves!
Rosemary, lavender, marjoram, basil, thyme, oregano, parsley, chives, and mint can all do quite well under the warm, controlled temperature of your spring greenhouse. Generally speaking, herbs will do best in a warm, dry environment so do your best to minimize the humidity in your greenhouse. Too much moisture will lead to rot in your soil. Make sure you use well-draining soil to help avoid this issue.
While your portable heater may not be as necessary this time of year, if you’re growing herbs you might need to keep it around a little longer. Herbs like rosemary and basil grow best in warmer temperatures ranging from 65-85°. You might be able to achieve these temperatures without the help of artificial heat but having your heater handy might help you out on cold days. We all saw yesterday just how quickly the weather can change unless you somehow missed that 20 minute hailstorm around noon. Which, if you were able to ignore that storm, can you tell me how? All that hail out of nowhere was incredibly distracting and a bit scary. Thankfully I was inside, but still, you have a superpower if you were able to ignore that.
Once your herbs have gotten started and are on their way to maturity, growing them is really not much different than any other plant inside your greenhouse. Certain herbs will have different growing requirements so make sure you read your seed packets carefully before you start growing. Knowing what to do is half the battle, staying on top of the things you planted is pretty much the other half. Once you’ve grown all your herbs, you’ve got a few options with what to do next.
If you want to use them fresh, you have plenty of options. Basil can be processed along with olive oil and garlic to make a pesto. Basil can also improve the flavor of tomato sauces and makes for a great topping on pizza. If you have the time and equipment, you can even infuse your own cooking oil. Heat around 2 cups of your favorite cooking oil, olive oil works great, and heat to a low temperature. Gather about ¼ cup of whatever herb or spice you plan to infuse in your oil. Add your herbs and spices to the olive oil and simmer for no more than two minutes. Anything over and you will risk burning the herbs and creating a rather bitter tasting oil, which let’s be honest, I can’t imagine anyone wants. Once simmered, strain the oil into a bottle, making sure the simmered herbs are removed. Once you’ve filled your oil bottles, you can put some fresh herbs in the bottle with the oil to increase both the fragrance and the flavor. These oils can be used to cook with or as a condiment, either will lighten up your meal with a fragrant, herbaceous delight.
Drying your herbs is also an option. This will leave you with a similar product that you can buy in the store but leaves you with the satisfaction that comes with growing your own food. Also, generally speaking, the herbs you grow and dry yourself will have a much better flavor which allows you to use less to properly season your food. If you have a food dehydrator, drying out your herbs will be very easy. If not, the process can be a bit more complicated. Preheat your oven to its lowest temperature setting, once it's reached that point, leave the door slightly open. Arrange your herbs on a baking sheet so they have enough space and aren’t overlapping. Depending on your herb, the time frame will be different. Again, make sure the oven door isn’t completely closed as your herbs will burn very quickly. Keep an eye out on the herbs to ensure they don’t burn and pull them from the oven once they are completely dry. Allow the herbs to cool down, then get to crushing! This can be done a few different ways, depending on what your desired outcome is. You can do it by hand, this will result in larger, less uniform crushed herbs which can be good for seasoning your food. Using a food processor can help make sure the crushed product is uniform in shape and size but will leave you with a powder. This powder is useful for both seasoning food as well as using in baking recipes. Powdered herbs and spices are great for baking because they will be able to distribute more evenly throughout the dry baking materials. If you have a mortar and pestle you can essentially control what size and shape you want your herbs to become. Simply smashing the herbs with the pestle will help you create less uniform shapes and sizes where grinding with the pestle can help create a more uniform powder. Now that you’ve grown and dried out your herbs, its your choice what to do with them! Season your dishes, infuse cooking oils or give them out as gifts!
Thanks for reading, this blog is a bit less organized than some of my previous, but I’m dealing with a stomach bug this week so cut me some slack. Herbs and spices are a bit of my favorite part of cooking because they really allow you to customize your food to exactly how you want. Grilled chicken can become basically whatever you want! Learning herb and spice flavor profiles can really help you kick things up a notch in the kitchen. We’ll see you next week!


